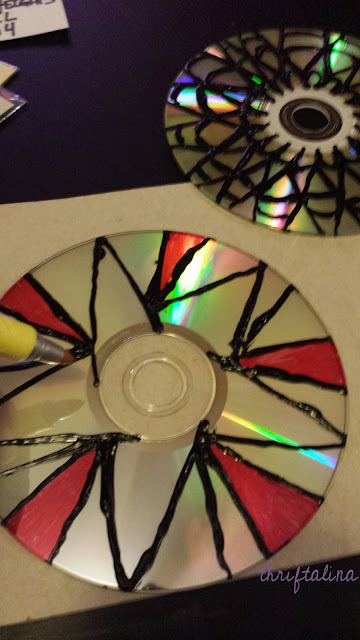
These Easy Upcycled CD Ornaments make great DIY Last Minute
Handmade Gifts, you probably already have everything you need to make
them! I love being able to use cast off materials like Old CD's and scraps of wrapping paper and fabric to create these, and kinda want to make a bunch more already. They are so easy from start to finish they only take an hour or so to create a few at a time, You will want to make more and more because they are so easy!
Supplies -
Old CD's
Puffy Paint (optional)
Colored Markers - I used Bic Mark It's
Decorative Paper or Fabric- Wrapping Paper works Perfectly for Holidays and Birthdays!
Ribbon
Old Buttons or Cabachons
Glitter Glue
Glue Stick
Hot Glue
Scissors
Step 1 - Draw outlines of designs in black or use black puffy paint or glitter glue for a more deluxe look.
- Allow the Puffy Paint To Dry before moving to Step 2.
2. Color In your Designs with Markers, I used Bic Mark-It's, but Sharpies work just fine.
3. Glue Decorative paper or fabric to the backsides

4. Use Hot Glue to Affix Ribbon to over the decorative backside

5. Use Hot Glue to Affix Buttons to the Front Centers, Then outline with glitter glue and around the edge of the disc.
6. Hang to Dry up to 4 Hours - Finished!

Did you try this project? I'd love to see your results!


No comments:
Post a Comment